How to Remove Oil Stains from Concrete
Warning: Undefined property: stdClass::$error in /sites/makeoveridea.com/wp-content/themes/theissue/inc/misc.php on line 71
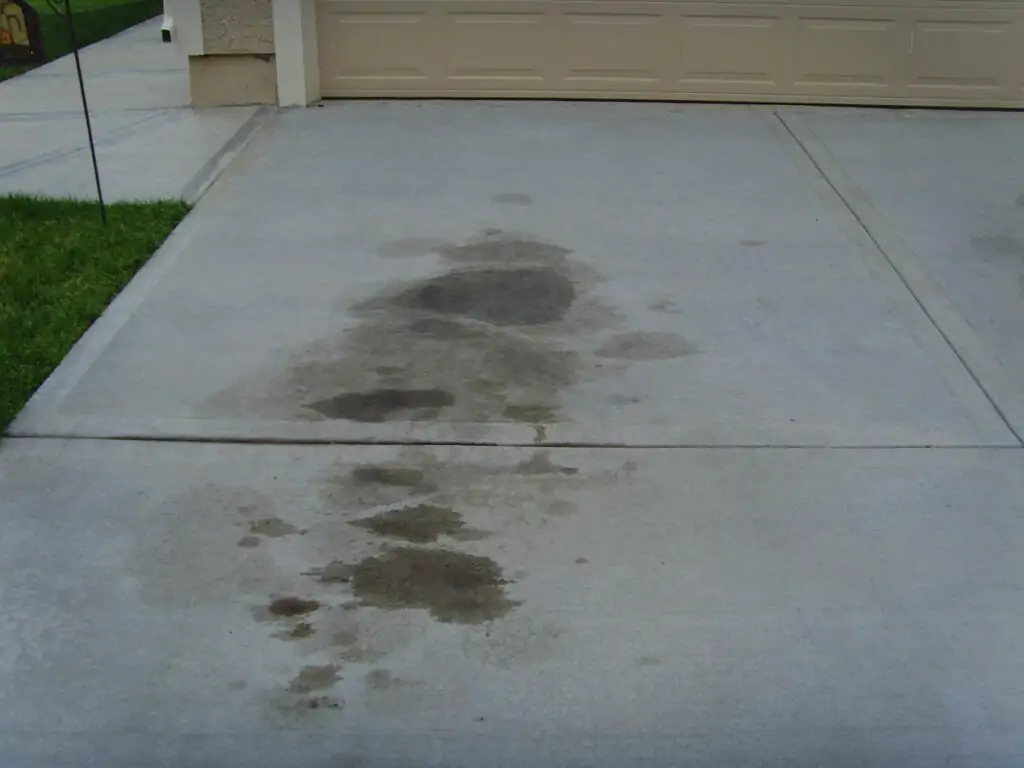
Did you ever spill oil while working in your garage so that now the concrete floor in your garage has stains all over it? Did you wonder how to remove oil stains from concrete? Those stains can be a nuisance to remove. Simply wiping the floor with a wet cloth won’t be enough to get them out, even if you somehow manage to remove the surface level with this method.
The oil seeps deep into the concrete and, under constant heat from the sunlight, may resurface and completely ruin any decoration or color on your driveway or garage floor. The longer you leave the stain untreated, the deeper it seeps into the concrete, and it gets more difficult to remove it. This is a very important skill to learn since most landlords require you to remove these stains before moving out. Fortunately, there are various ways to do so.

How to Prevent Future Oil Stains
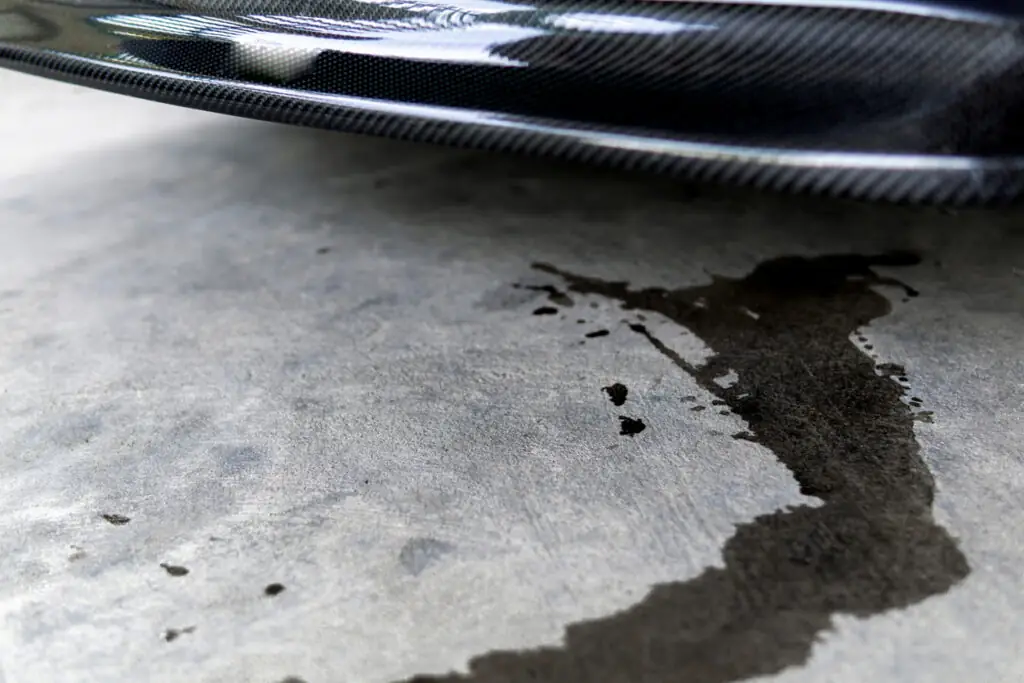
It is much easier to prevent future oil stains than it is to remove them once they start setting in. The easiest way to avoid spilling oil is to place old rags around the workplace. Also, regularly check your car for leaks. Engines can leak if they are not maintained properly, so take your car to the mechanic at least once every few months.
Preparation
Before you start removing the stains, there are a few necessary steps you need to do. First, you make sure you are safe. You are going to work with aggressive chemicals, so adequate protection of your skin and eyes is of utmost importance. Wear waterproof gloves, long sleeves, and pants to cover your skin, goggles to protect your eyes, and a mask to protect you from toxic fumes that are released during the chemical reaction. When it comes to cleaning unabsorbed chemicals, never wash them away with water. They can be damaging to the environment, so it is best to soak them using adsorbents or rags.
After you get everything for your safety, it is time to break up the oil stain to make them easier to remove. Solvent-based solutions react with oils and loosen up the stains and prepare them for removal. The best solvents to use are the ones that contain kerosene, emulsifiers, halogenated hydrocarbons, and mineral spirits. These chemicals are readily available in home centers and hardware stores. They are:
- Starting fluid
- Adhesive remover
- Brake cleaner
- Engine degreaser
There are other alkaline solutions you can use, such as baking soda, but we recommend you to use store-bought chemicals since they are more effective and easier to work with.
Now that you loosened up the stains, you will need to absorb the remaining chemicals using absorbents. There are several great options when it comes to absorbents you can use. Cat litter and granulated oil absorbent are the best options. You might be surprised, but their chemical composition is really the same: clay granules. Usually, the granular absorbent is cheaper than cat litter, so it is a better option. If you choose to use cat litter, don’t use the scented version, nor the paper or wood alternatives. It has to be a basic clay-based cat litter. Otherwise, it will not work.
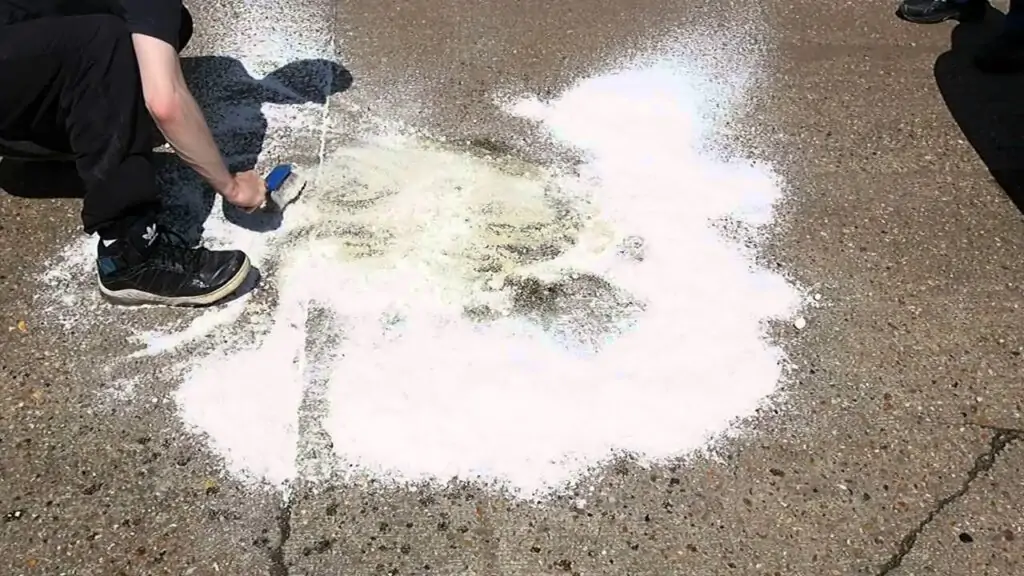
When it comes to tools, you will need a nylon brush, broom, and a few old towels or rags.
How to Remove Old Oil Stains from Concrete
Now that you have everything prepared, you are ready to start removing the stains from your concrete floor. Follow each step carefully and take your time. It is fine to do things at your own pace.
1. Sprinkle the Absorbent onto the Oil Puddle
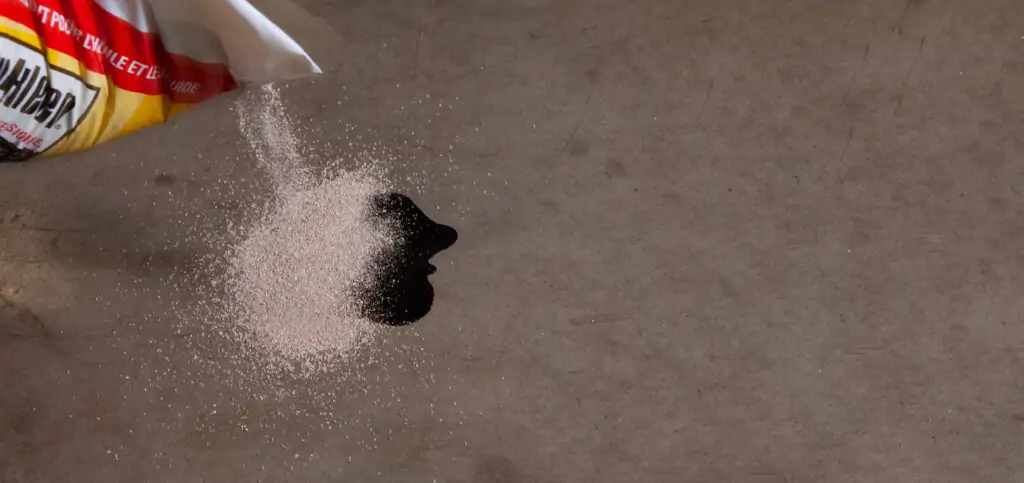
If you are removing the stain while the puddle is still wet, you will have to soak up any excess oil that hasn’t yet seeped into the concrete. First, soak up the main part of the puddle with old rags, then sprinkle around ¼ inches of granulated absorbent. Cover it with another towel and wait for a couple of minutes.
2. Sweep up the Absorbent
After around 5 minutes, pick the towels up and put them to the side. You will need them later. Then get the broom and sweep up the absorbent/cat litter and discard it. Once it has soaked up the oil, it can no longer be used. Make sure you don’t spread any liquid that has not been soaked.
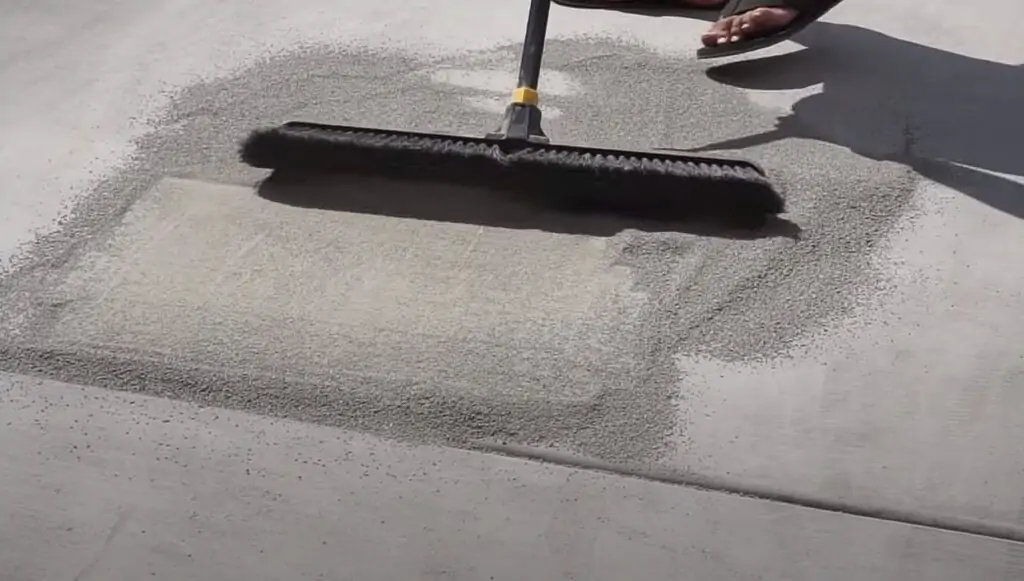
3. Another Layer of Absorbent
Sprinkle another layer of absorbent onto the stain, this time ½ inches of it. Cover it with towels and wait twice the amount you waited the first time. Once the time has passed, remove the towels and sweep up the absorbent.
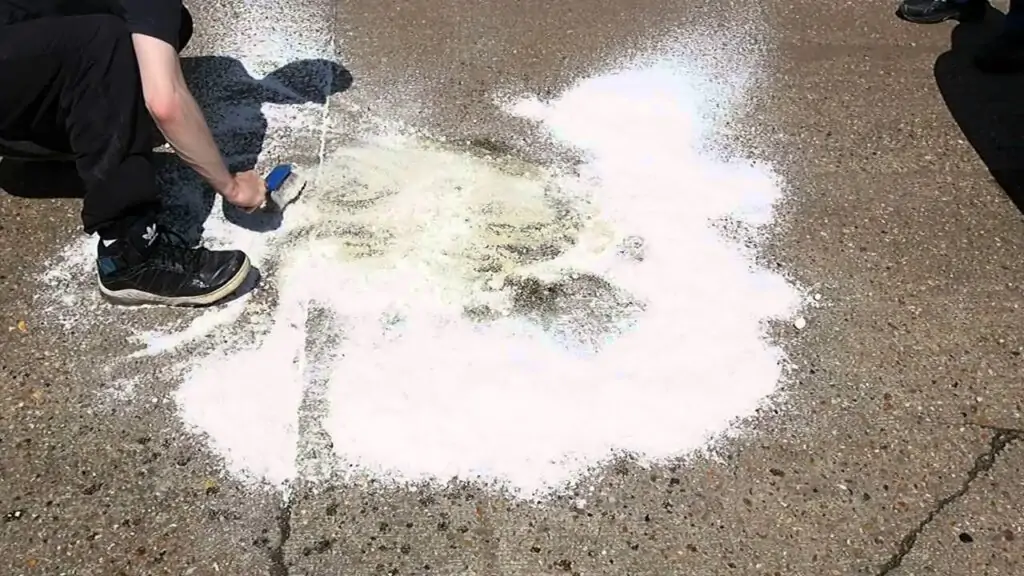
4. Spray the Solvent
You will have to wear a face mask for this step; otherwise, there is a risk of inhaling toxic gasses, which may cause you to faint. Now that you are safe start spraying – very slowly – the solvent onto the stain. Make sure the entire stain is covered by the solvent. If you are working on a sloped floor, don’t let the solvent go outside the edges of the stain because this may spread the stain and cause even more damage to the floor.
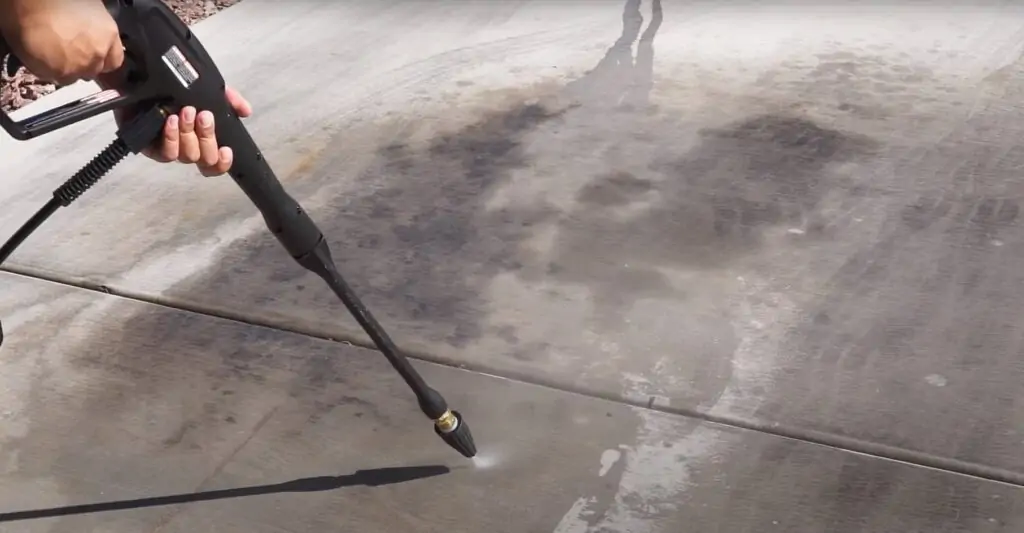
5. Brush the Stain
Put on the latex gloves and start brushing the solvent into the concrete with a nylon brush or broom. Do this for at least 5 minutes.
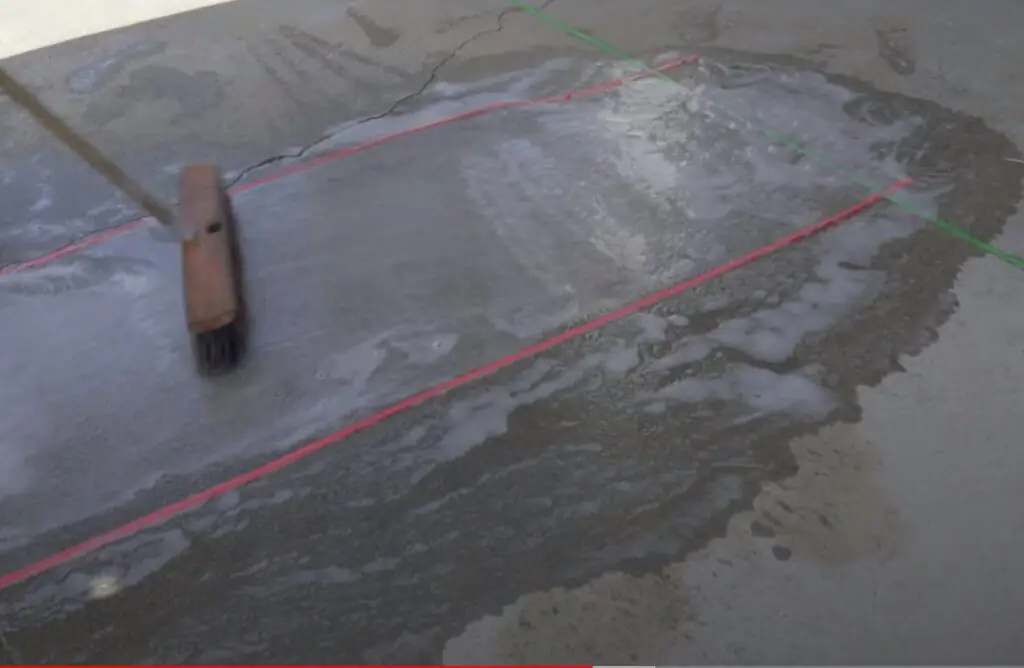
6. One More Layer of Absorbent
Once again, you will need to lay another layer of absorbent and cover it with a towel. Leave it for at least 20 minutes. After 20 minutes, pick up the towel and slowly remove the absorbent and any excess dust laying on the stain.
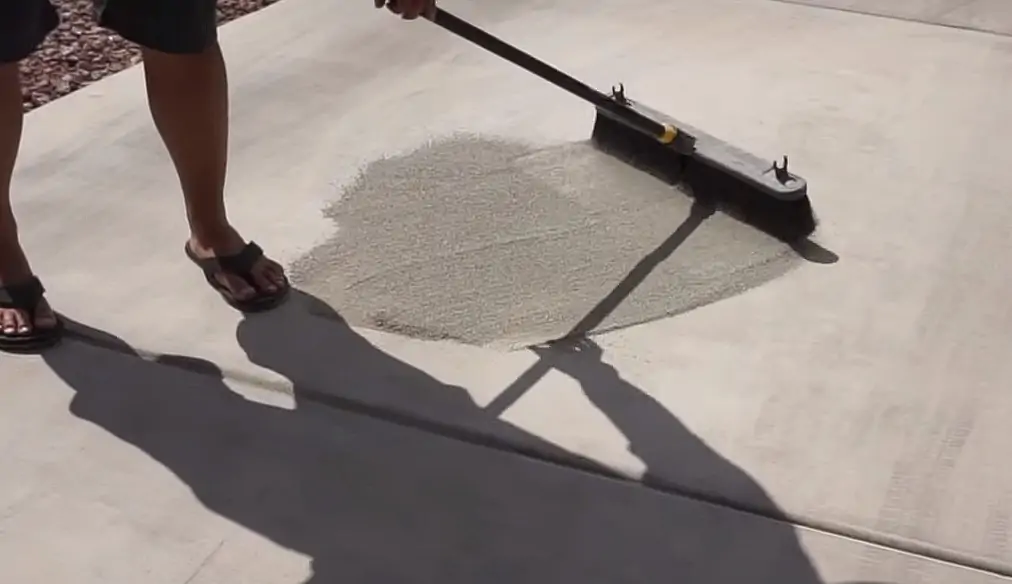
7. Repeat until the Stain Is Gone
Repeat every step of the process until there is no visible stain on the concrete. If you want to be absolutely sure there is no liquid in the concrete, you can repeat the whole process one more time.
If you want to see a more detailed step-by-step tutorial, watch the YouTube videos below:
FAQ
Vinegar can remove smaller stains, but it is not an ideal option. This is because chemically vinegar is an acid which means it is on the opposite side of the PH scale compared to most chemicals used to remove stains from concrete.
Dawn dish soap can get stains out, but you will need a large amount of it, and you will need to scrub it into the concrete for a much longer time than other, more aggressive, chemicals.
Hopefully, now you know how to remove oil stains from concrete. Be sure you understand everything and follow each step of the process with extreme care. Good luck with your next DIY, and see you soon!