How To Paint a Front Door
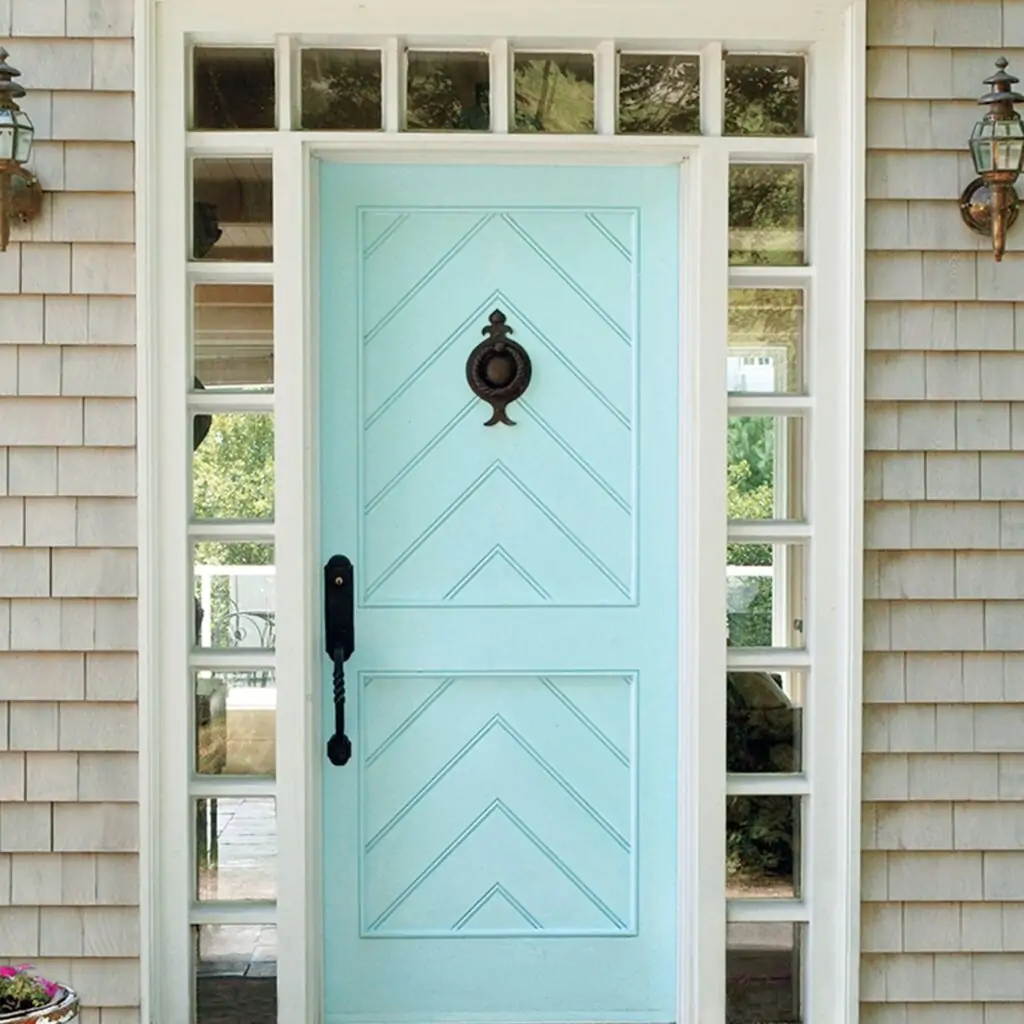
Did you ever wonder how to paint a front door as the color started fading away? Since the front door is the first thing someone sees when they come to your house, it is really important that it look as nice as possible. If it is not in the best shape, it will be a true eyesore – especially if all other features of your house look nice.
The entrance is a centerpiece of the exterior of your house, which means it has a major impact not only on the looks but on the price of your house as well. In this article, we will describe how to paint your front door step-by-step.
Before You Start
Before you start the actual painting, there are some crucial steps you need to follow. They are as important as the process of painting itself, so take your time.
Check-in with the Authorities
Usually, there are no required permits for painting the front door, but we advise that you ask your local authorities anyway.
How to Choose a Front Door Paint Color
If your house is a part of a planned neighborhood, there might be certain rules to follow, so check them out with the construction company. Ask it what colors you can use and if there are any safety measures you need to follow.
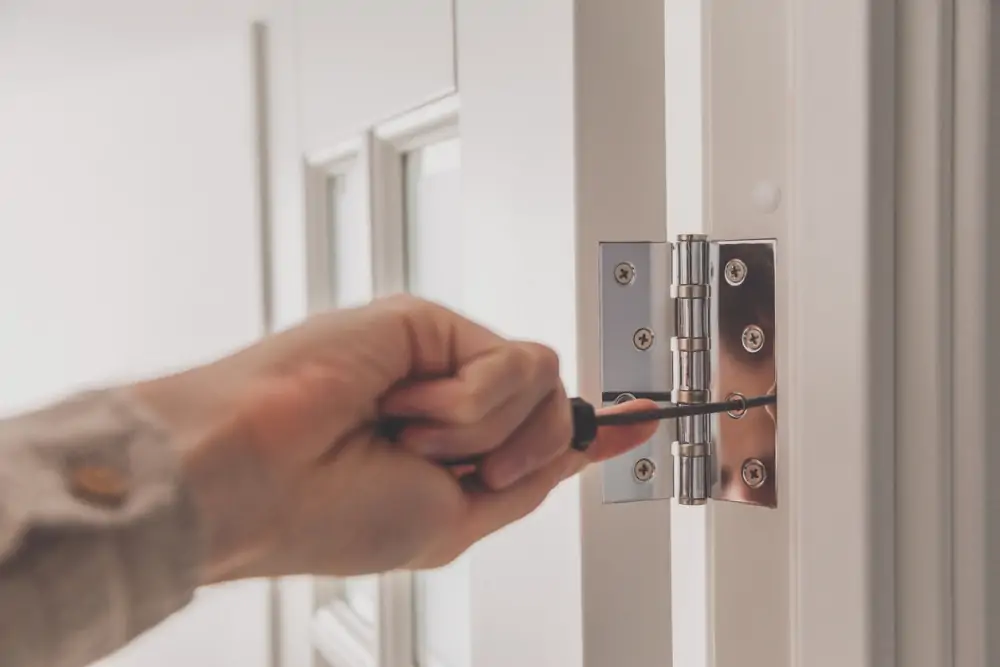
Unhinge the Door
Before you start painting, you need to unhinge the door and lay it on two old chairs or ideally on two wooden frames. You should always dye things horizontally because it prevents drips. Remove the doorknob so you can access the whole surface.
Different Kinds of Paints
The two best choices for paints are oil-based and water-based ones, each with different pros and cons.
Overall, water-based paints are better for beginners and people who lack experience. They usually dry for a day or, if you live in a humid climate, for two days on the outside. Such paints are water-dilutable, so if you spill some of them and make a mess, it will be much easier to clean up. If you want to be environmentally friendly, you can get water-based paints with no volatile organic compounds (VOCs) that can harm wildlife.
Oil-based paints are harder to work with since you have to use paint thinners to dilute and remove them. Another downside is that they lack the no-VOC varieties, so they are usually worse for the environment. The one thing oil-based paints excel at is durability. They are far more durable than water-based ones, and they form fewer brush marks.
If you plan to use matte paints, be sure to buy more than you think you need. Matte paints are more susceptible to scratches, so you should always be able to cover the damaged spots.
Instructions
Now that you have done everything that we listed above, you are ready to start.
1. Remove the Accessories
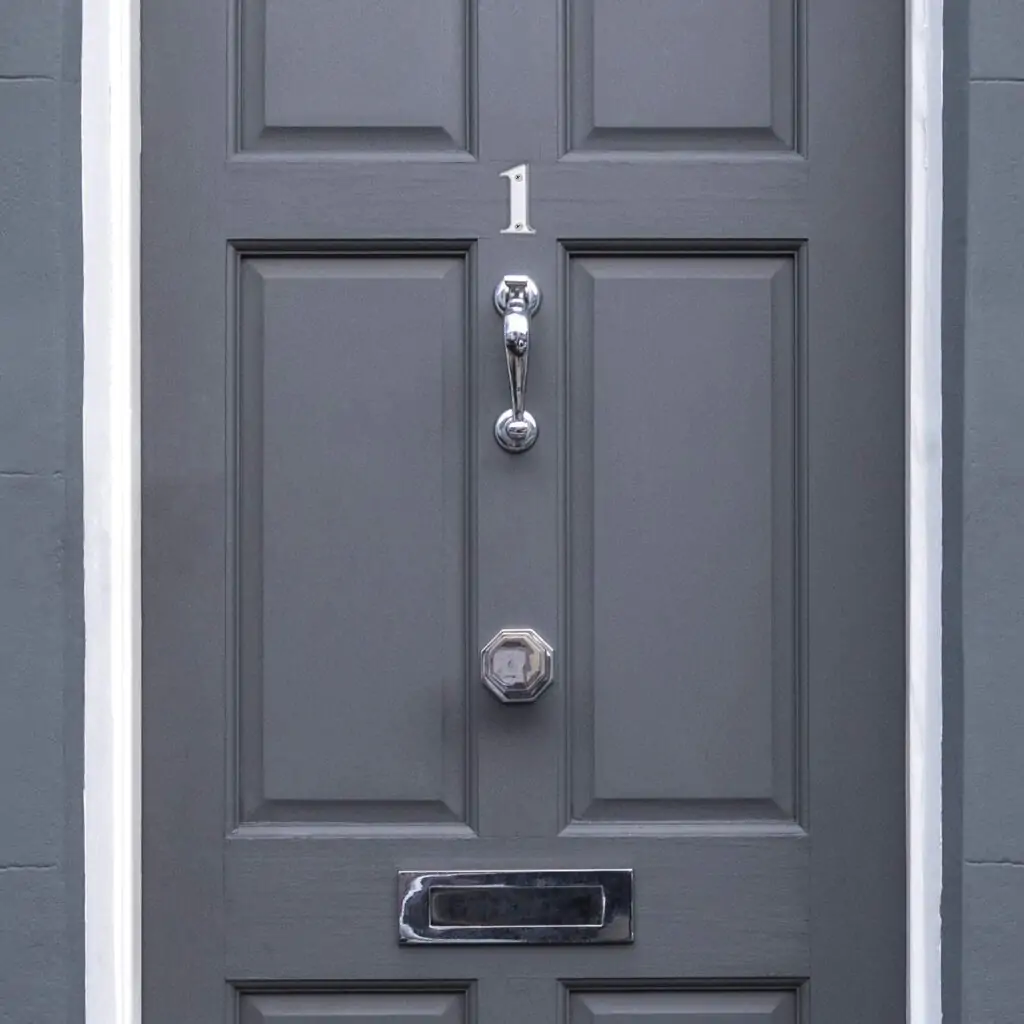
Before you begin the painting process, remove all the accessories – street number, doorknob, locks, decorations… Put them in a small box along with their screws and nails.
2. Get Rid of Dust
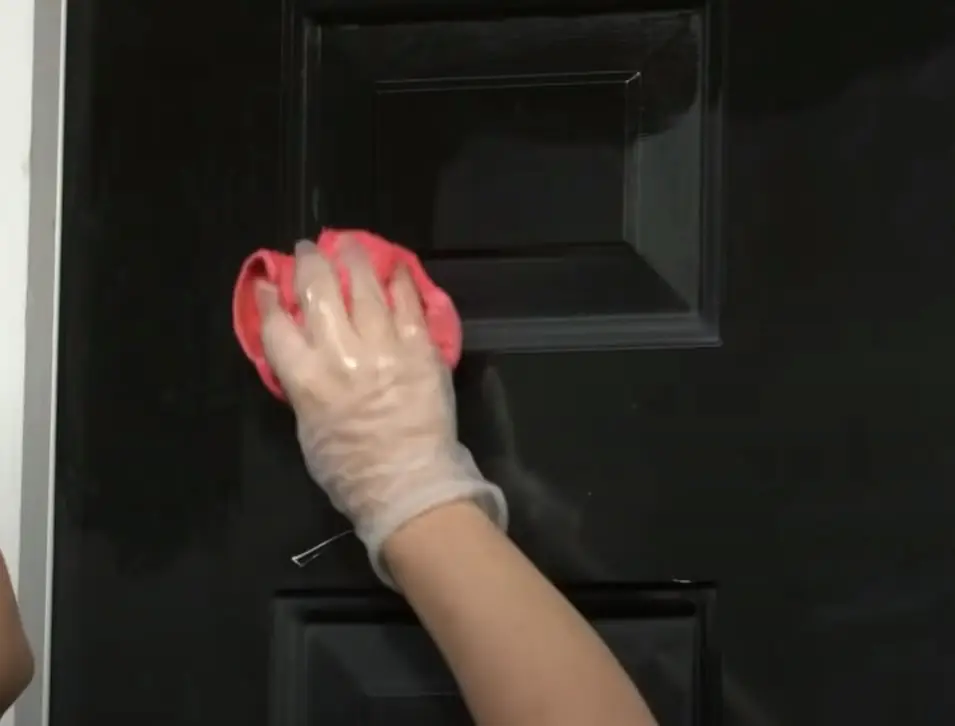
It is very important to clean your door if it seems dirty because otherwise, the color won’t stick, or you will go over the stains and make bumps.
3. Smooth the Wood
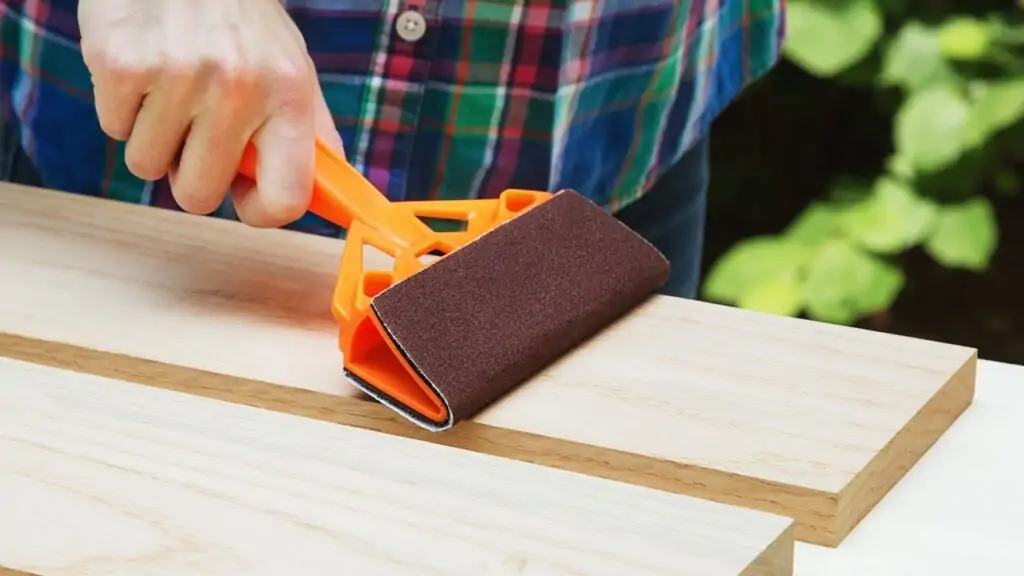
Before you start applying the paint, you will need to sand the wood. This will remove old coloring and allow the new one to be applied much better. Wipe the dust from the surface with an old rag after you are done sanding.
4. Apply the Primer
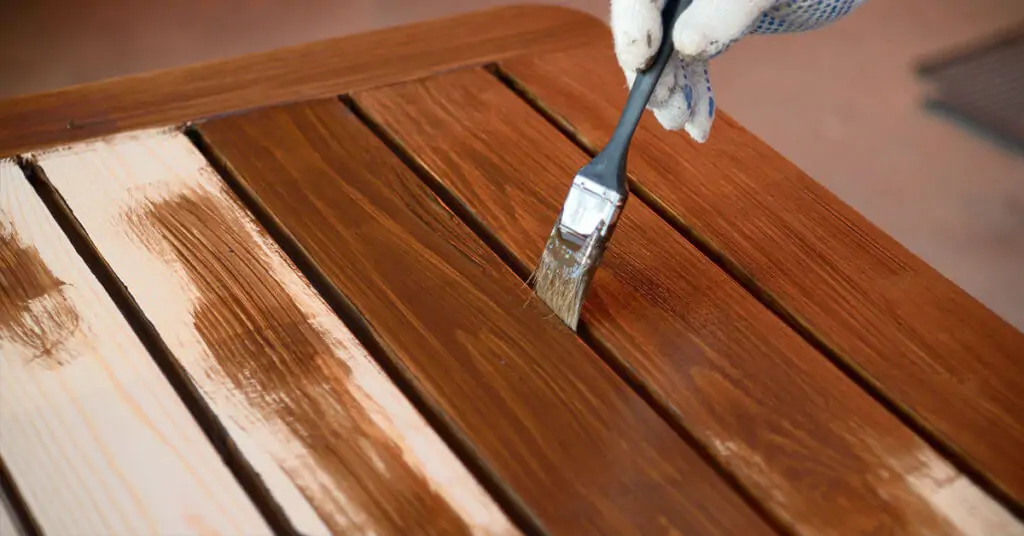
Get a soft paintbrush and slowly apply the primer. Primers tend to be very thin, so you might need to apply the second layer.
5. Start Painting
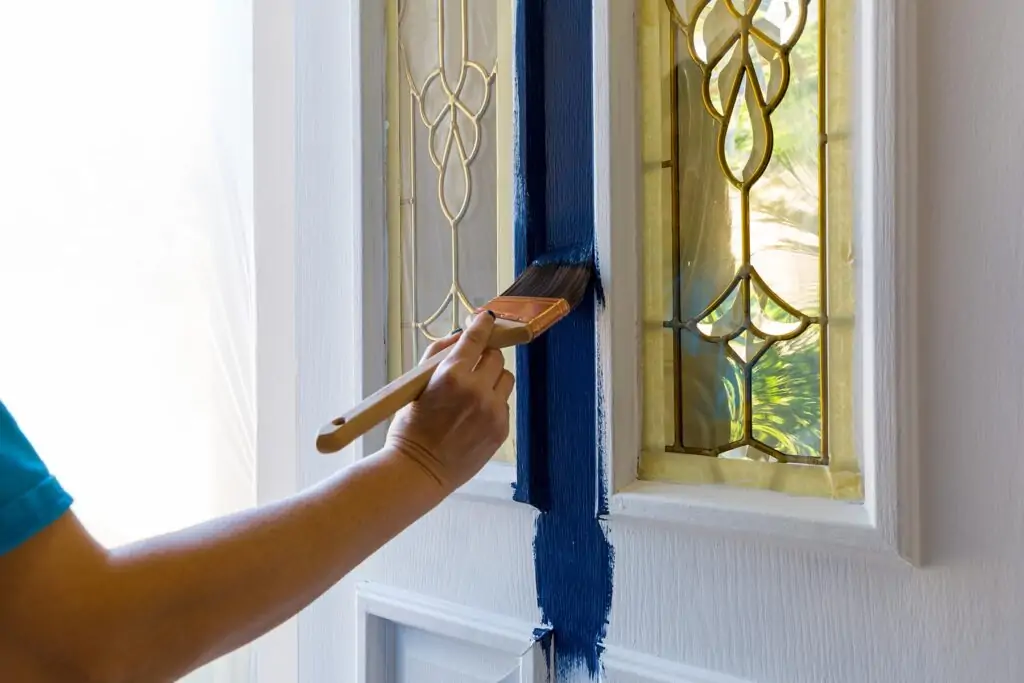
Start by painting edges, window frames, and small surfaces with a small paintbrush. After that, use a paint roller to cover the large flat surfaces. Let paint dry for at least 3 hours, then repeat the whole process 2 more times.
If you want a more detailed tutorial, check out the video below:
FAQ
Sprayers are great for painting large surfaces and will save you a lot of time, but they tend to be expensive, so you should only get one if you are planning to do multiple projects.
It doesn’t matter much when you start, but higher temperatures will let the primer dry faster.
Hopefully, now you know how to paint a front door. Take your time and follow each step of the process carefully. Good luck with your next DIY project, and see you soon!